Sourdough Bread Bowls: Edible Serving Dishes for Soup Season
This article may contain affiliate links. If you make a purchase through these links, we may earn a small commission at no extra cost to you. This helps us keep creating free content.

What Makes a Bread Bowl Different
A bread bowl is not just a boule with the top cut off. To hold hot soup for twenty minutes without collapsing or leaking, it needs a tighter crumb, a thicker crust, and a firmer shape than a table loaf. That means running lower hydration and building far more surface tension at shaping. A standard sourdough at 75% hydration bakes into an open, airy crumb that turns to mush the moment broth hits it; drop to around 68% and the crumb closes up enough to act as a wall.
The formula below yields four bowls at about 220 g of dough each, a portion that hollows out to hold roughly 300-350 ml of soup. If you want three larger bowls or six small ones, run the batch through the recipe scaler so the flour, water, starter, and salt all stay in the same proportion.
The Formula (Baker's Percentages)
| Ingredient | Grams | Baker's % |
|---|---|---|
| Bread flour (12-13% protein) | 500 g | 100% |
| Water | 340 g | 68% |
| Active starter (100% hydration) | 100 g | 20% |
| Fine sea salt | 10 g | 2% |
Counting the water inside the starter, true dough hydration sits near 71%, which is why the handling feels firmer than a typical high-hydration loaf even though the stated figure is 68%. High-protein bread flour matters here: the extra gluten builds the strong, sturdy walls a bowl needs. A softer all-purpose flour makes a slacker dough that spreads flat instead of standing tall.

King Arthur Organic Bread Flour, Unbleached, 5 lb
Unbleached bread flour for sourdough and yeasted loaves.
See on Amazon →Starter and Timeline
Feed the starter 1:5:5 and use it at peak, 4-8 hours later at 24°C (75°F), when it has doubled and passes the float test. A ripe but not over-acidic starter keeps the gluten strong, which matters more here than in a soft loaf because the bowl has to stand up under weight. If your starter smells sharply of acetone or vinegar, it is over-fermented and weak; refresh it once or twice before baking day.
A practical schedule: feed the starter the night before, mix late morning, bulk through the afternoon, shape early evening, then cold-retard the boules overnight and bake the next morning. That overnight retard is the easiest path to a firm skin and a deep, tangy flavor, and it spreads the work across two short sessions instead of one long one. Room-temperature baking the same day works too, it just gives a milder taste and a slightly softer crust.
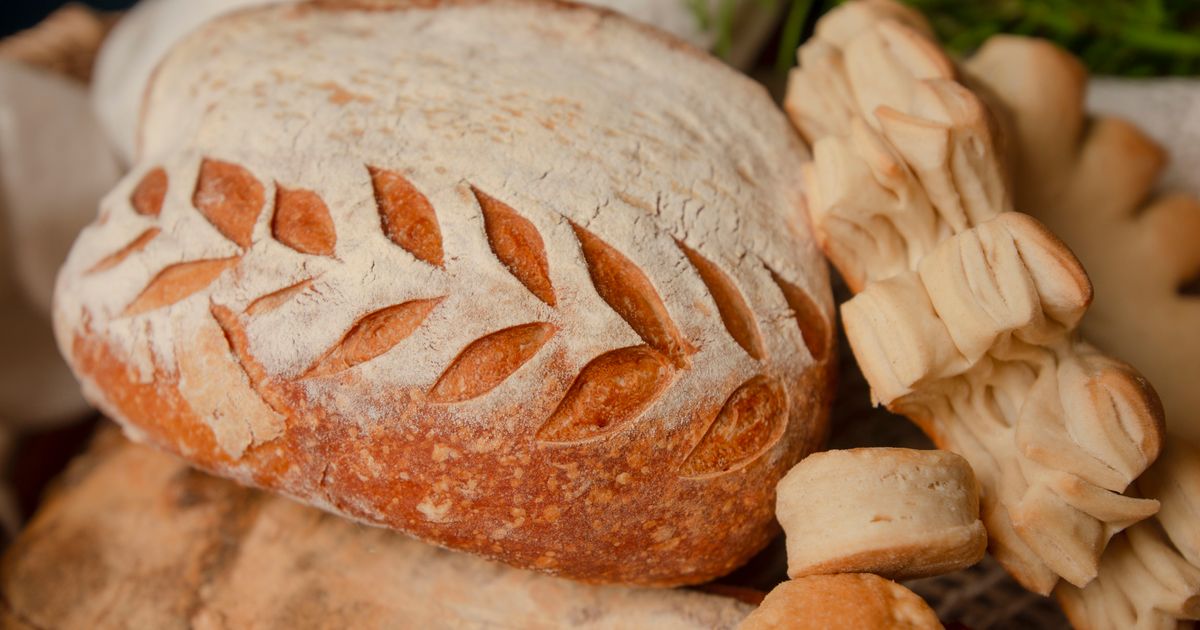
Mixing and Bulk Fermentation
Combine flour and water and rest 30-45 minutes (autolyse), then work in the starter and salt. Bulk ferment 4-6 hours at 22-24°C (72-75°F), giving 3 to 4 sets of stretch and folds in the first two hours. Because the dough is on the firmer side, the folds build tension quickly; the mass should feel smooth and elastic by the last set. Stop bulk at a 50-75% rise, slightly less than you might take an open-crumb loaf, since you want a controlled, tight crumb rather than large holes that leak.
Dividing and Shaping Tight Boules
Turn the dough out and divide it into four 220 g pieces with a bench scraper (a kitchen scale is not optional here, even portions bake evenly). Pre-shape each into a loose round and rest 15-20 minutes. Then shape each into a very tight boule: drag the round across an unfloured surface with cupped hands to wind the skin taut, building maximum surface tension so the dough holds a dome instead of spreading.
Place the boules seam-side down on a parchment-lined sheet, spaced well apart. Do not use a banneton; you want a round, dome-shaped result rather than the flat-bottomed profile a proofing basket gives. Proof at room temperature 1-2 hours, or cold-retard in the fridge overnight for deeper flavor and a firmer skin that scores and cuts cleanly.
Baking with Steam
Bake at 230°C (450°F). Cover the boules for the first 15 minutes to trap steam, using an inverted stainless steel bowl or pot per boule, or bake in a covered vessel; steam lets the crust expand before it sets. Remove the cover and bake another 20-25 minutes until the crust is deeply golden and firm, about 45 minutes total. A bread bowl needs a thicker, darker crust than a sandwich loaf, so push the color further than feels comfortable. Internal temperature should reach 96-99°C (205-210°F).
Cool completely on a rack, at least two hours, before cutting. Slicing into a warm bowl releases interior steam and leaves the crumb gummy, exactly the soft, soggy texture you are trying to avoid.
Hollowing, Sealing, and Portioning
With a serrated knife, cut a lid about 2-3 cm in from the edge, angling the blade inward so the lid does not drop through. Lift it off and save it for dipping. Pull out the interior crumb with your fingers or a spoon, leaving walls 2.5-3.5 cm (1 to 1.5 inch) thick. Thinner walls hold less soup and soak through faster; thicker walls stay sturdy and give you more bread to tear as you eat.
To buy extra time against sogginess, seal the inside: brush the cavity with melted butter or olive oil, or slide the hollowed bowls back into a hot oven for 3-5 minutes to lightly toast the interior. That thin, set layer slows how fast liquid penetrates the crumb. The scooped-out interior is not waste; pulse it into breadcrumbs or cube it and bake at 190°C (375°F) for 10 minutes into croutons.
Matching Soups to the Bowl
Thick, creamy soups hold up best because they sit in the bowl instead of soaking straight through: clam chowder, broccoli cheddar, loaded potato, or tomato bisque. Thin, brothy soups penetrate the walls quickly, so serve those in a sealed, buttered bowl and eat promptly. Ladle the hot soup in only just before serving, never in advance, and set the reserved lid alongside for dipping. A rough guide on capacity: a 220 g bowl hollowed to 3 cm walls holds about 300-350 ml, so plan one bowl per person for a main course and a smaller 150 g version for a starter portion. Sturdier chowders can sit for fifteen to twenty minutes; a thin tomato broth should be eaten within ten before the base gives way.

Troubleshooting
| Problem | Cause | Fix |
|---|---|---|
| Bowl spreads flat, no dome | Hydration too high or weak shaping | Drop water to 68%; build tighter surface tension at final shape |
| Soup leaks through walls | Crumb too open or crust too thin | Stop bulk at 50-60% rise; bake darker; seal cavity with butter |
| Gummy interior when hollowed | Cut while warm | Cool fully, 2+ hours, before cutting the lid |
| Lid drops into the bowl | Cut straight down | Angle the knife inward so the lid rests on a ledge |
Adjust one variable per bake, hydration, bulk length, or crust color, and note the result. Within a few rounds you will have a bowl that stands tall, cuts clean, and holds a full ladle of chowder to the last bite.
⚠️Disclaimer: This article is for informational purposes only. Fermenting and brewing require strict food hygiene — including correct fermentation times, temperatures, and cleanliness. Home-brewed beverages may contain alcohol. When in doubt, consult a food safety expert.
Published by the Sourdough Joe editorial team. Published May 1, 2026. Updated September 12, 2026.
Editorial responsibility: see Imprint.
Spotted an error or have something to add? corrections@sourdoughjoe.com
🧭Part of our topic hub: Recipes & Savory Breads→You might also like

Sourdough Burger Buns That Hold Up
Soft, pillowy sourdough burger buns that actually hold together through a loaded burger. No more soggy, collapsing buns.

Sourdough Chocolate Cake: Yes, Really
A rich, fudgy chocolate cake made with sourdough discard. The tang enhances the chocolate flavor in a way that will change how you think about cake.

Sourdough Crumpets: Fluffy, Tangy, and Addictive
Thick, spongy crumpets loaded with holes that pool with melted butter. Made with sourdough starter for a tang that elevates this British classic.
Explore more
All articles on Sourdough Joe →
Fresh from the Oven
New recipes, baking science, and troubleshooting tips — every Saturday morning.
🎁 Free bonus: Your First Sourdough Loaf Guide (PDF)